Good Browser, Bad Browser
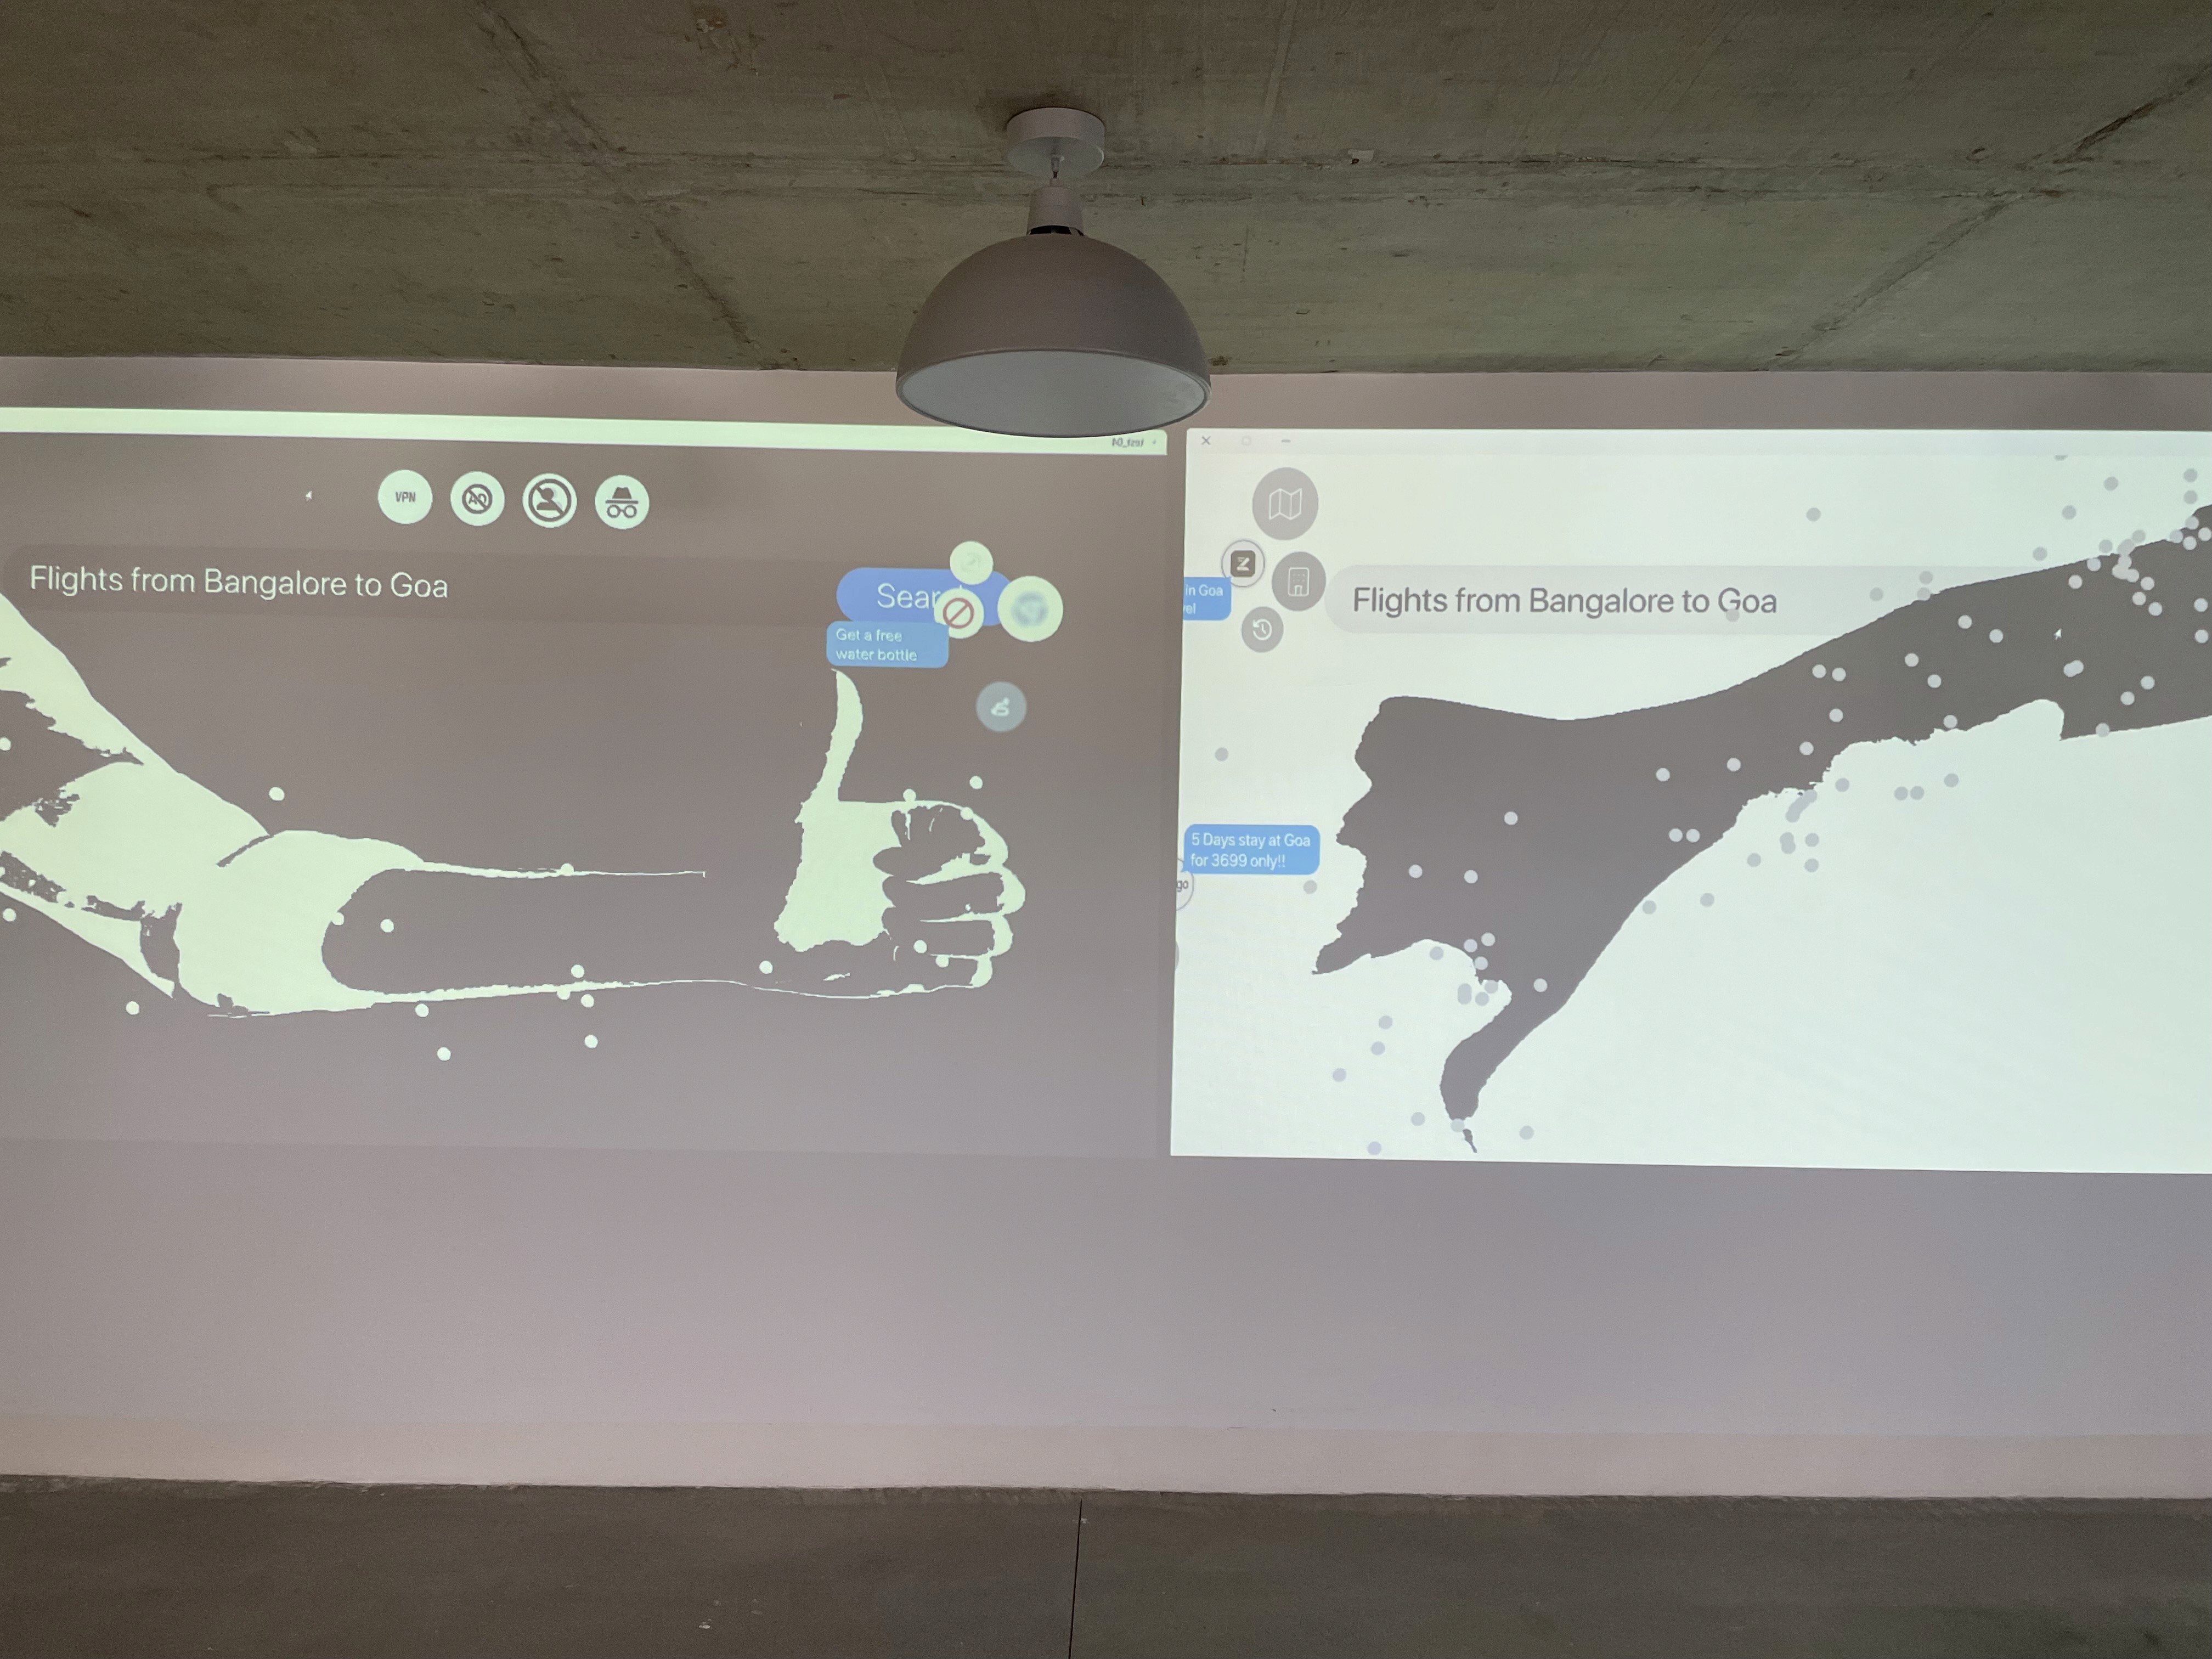
Good Browser, Bad Browser is a take on the blurry lines between personalisation and privacy. We created an interactive installation that conveyed to people the privacy drawbacks of using a protected browser and an unprotected browser.
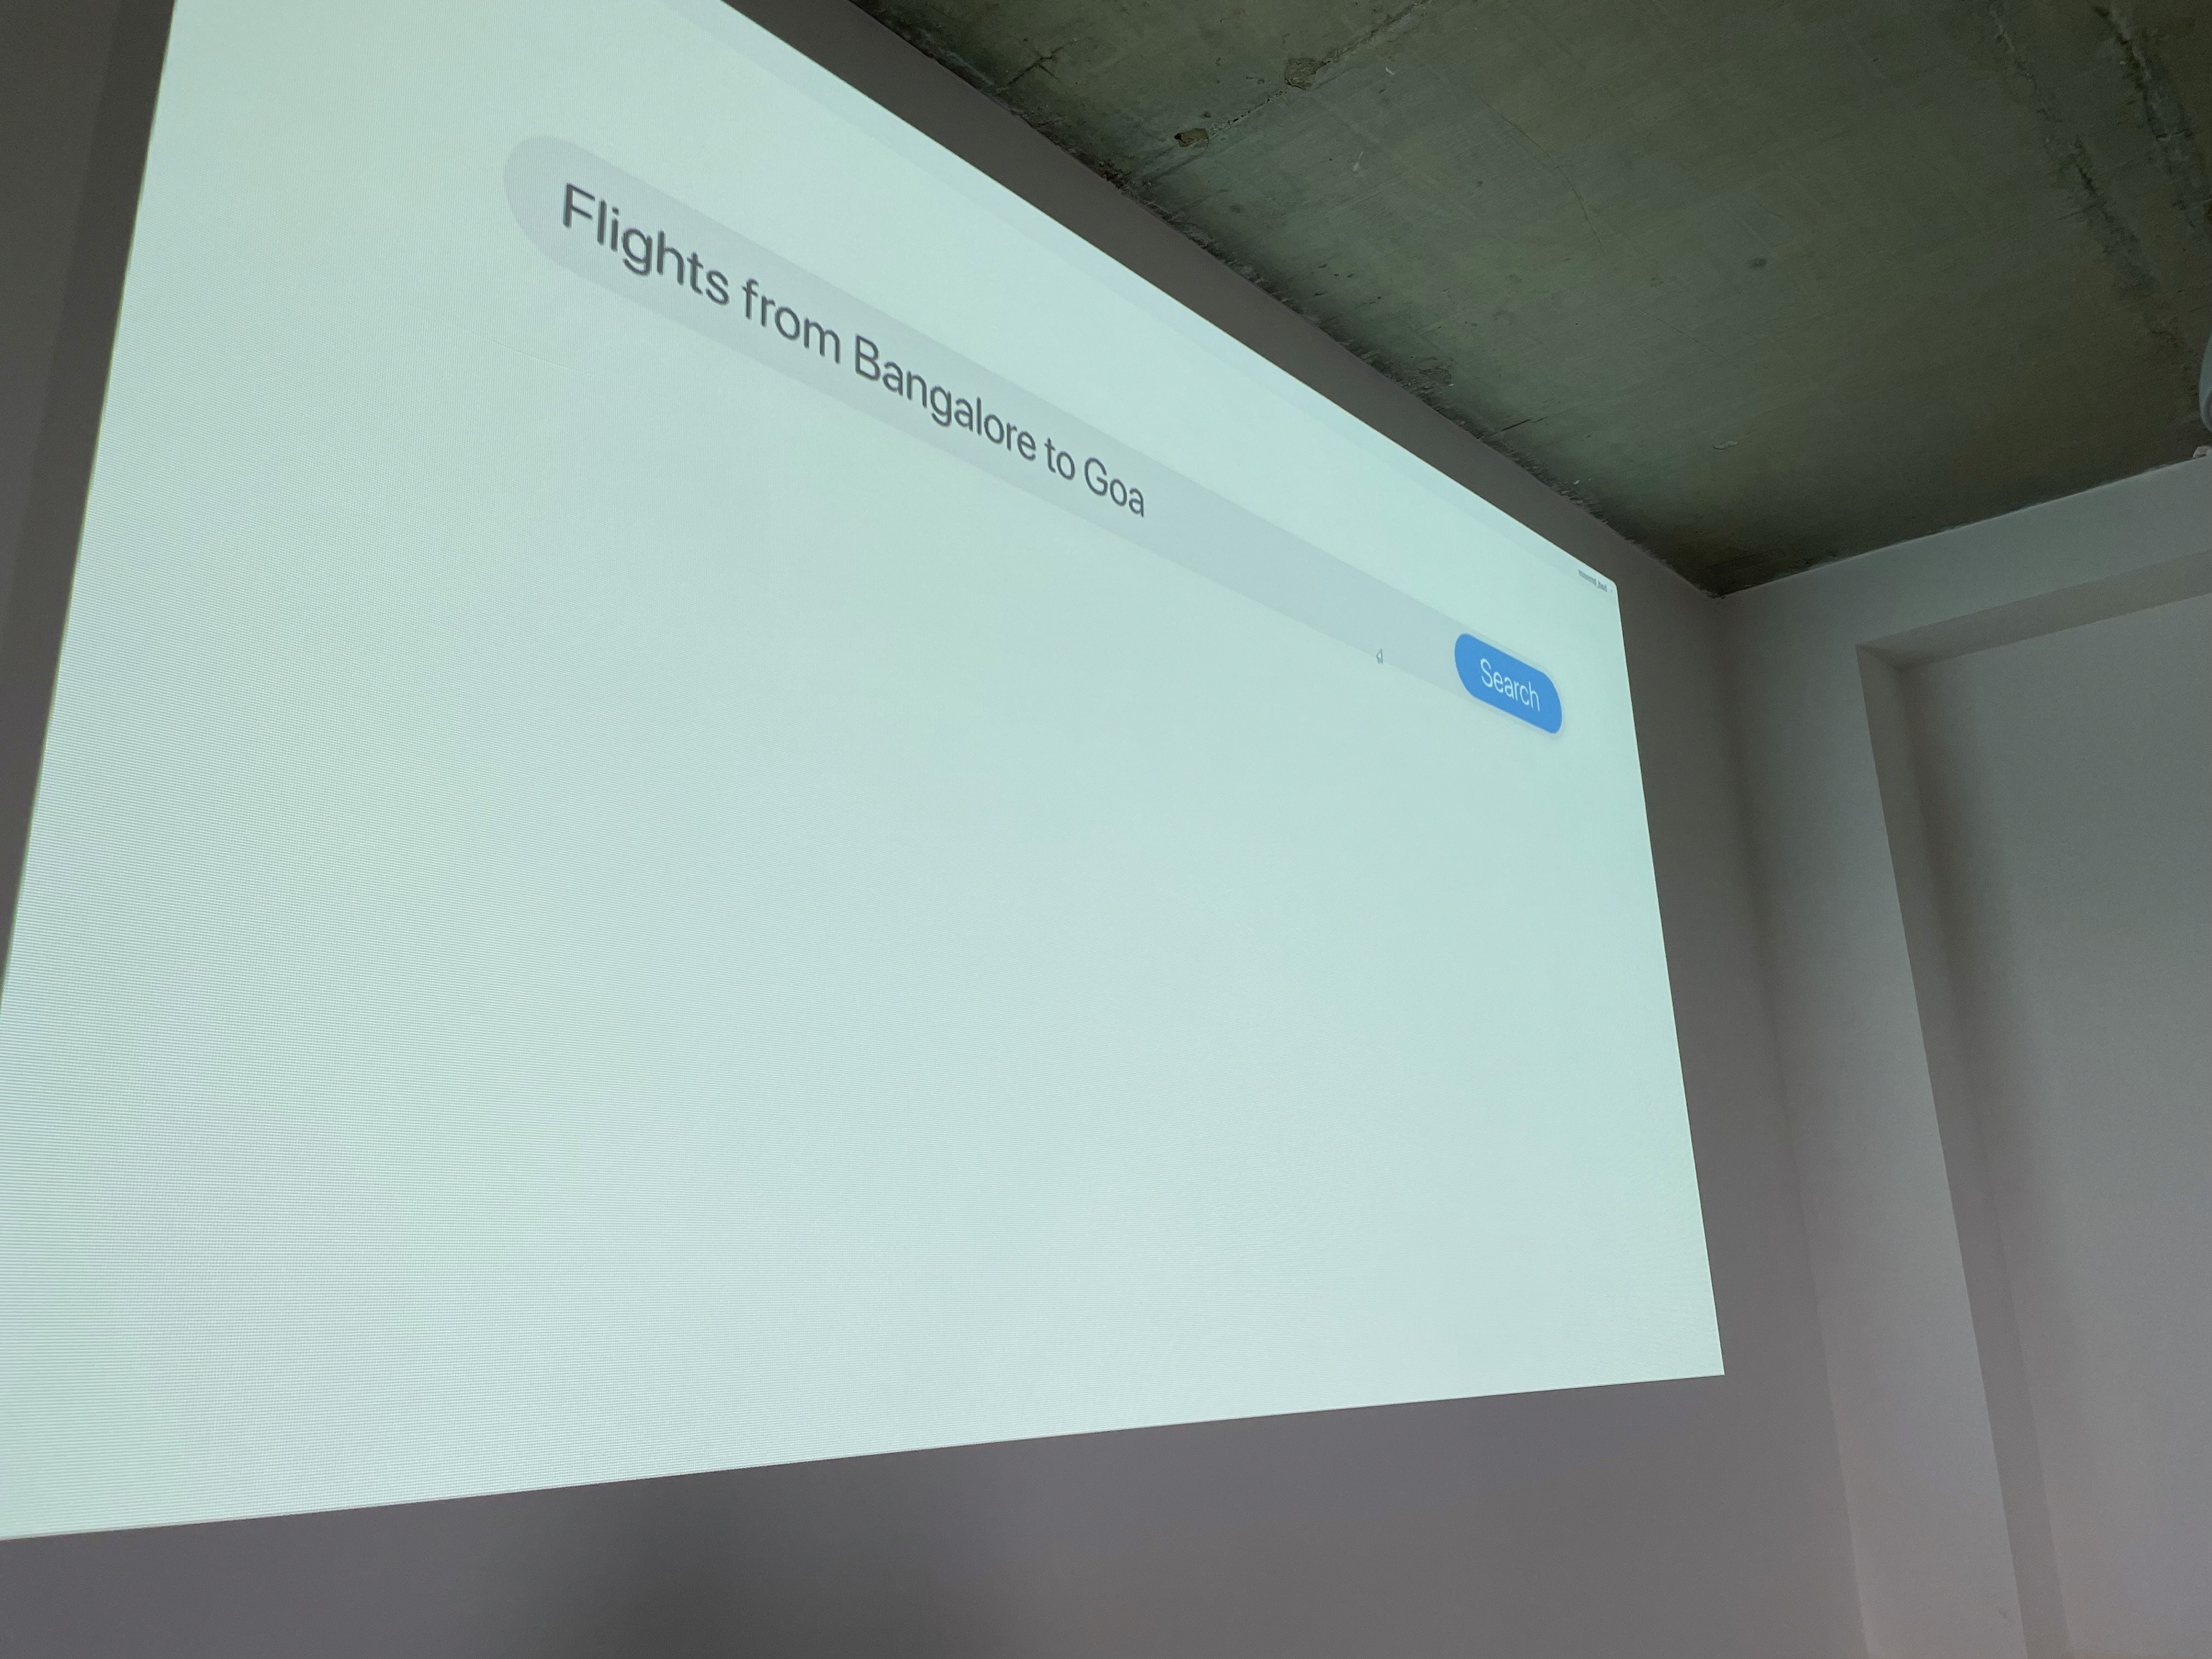
Good Browser
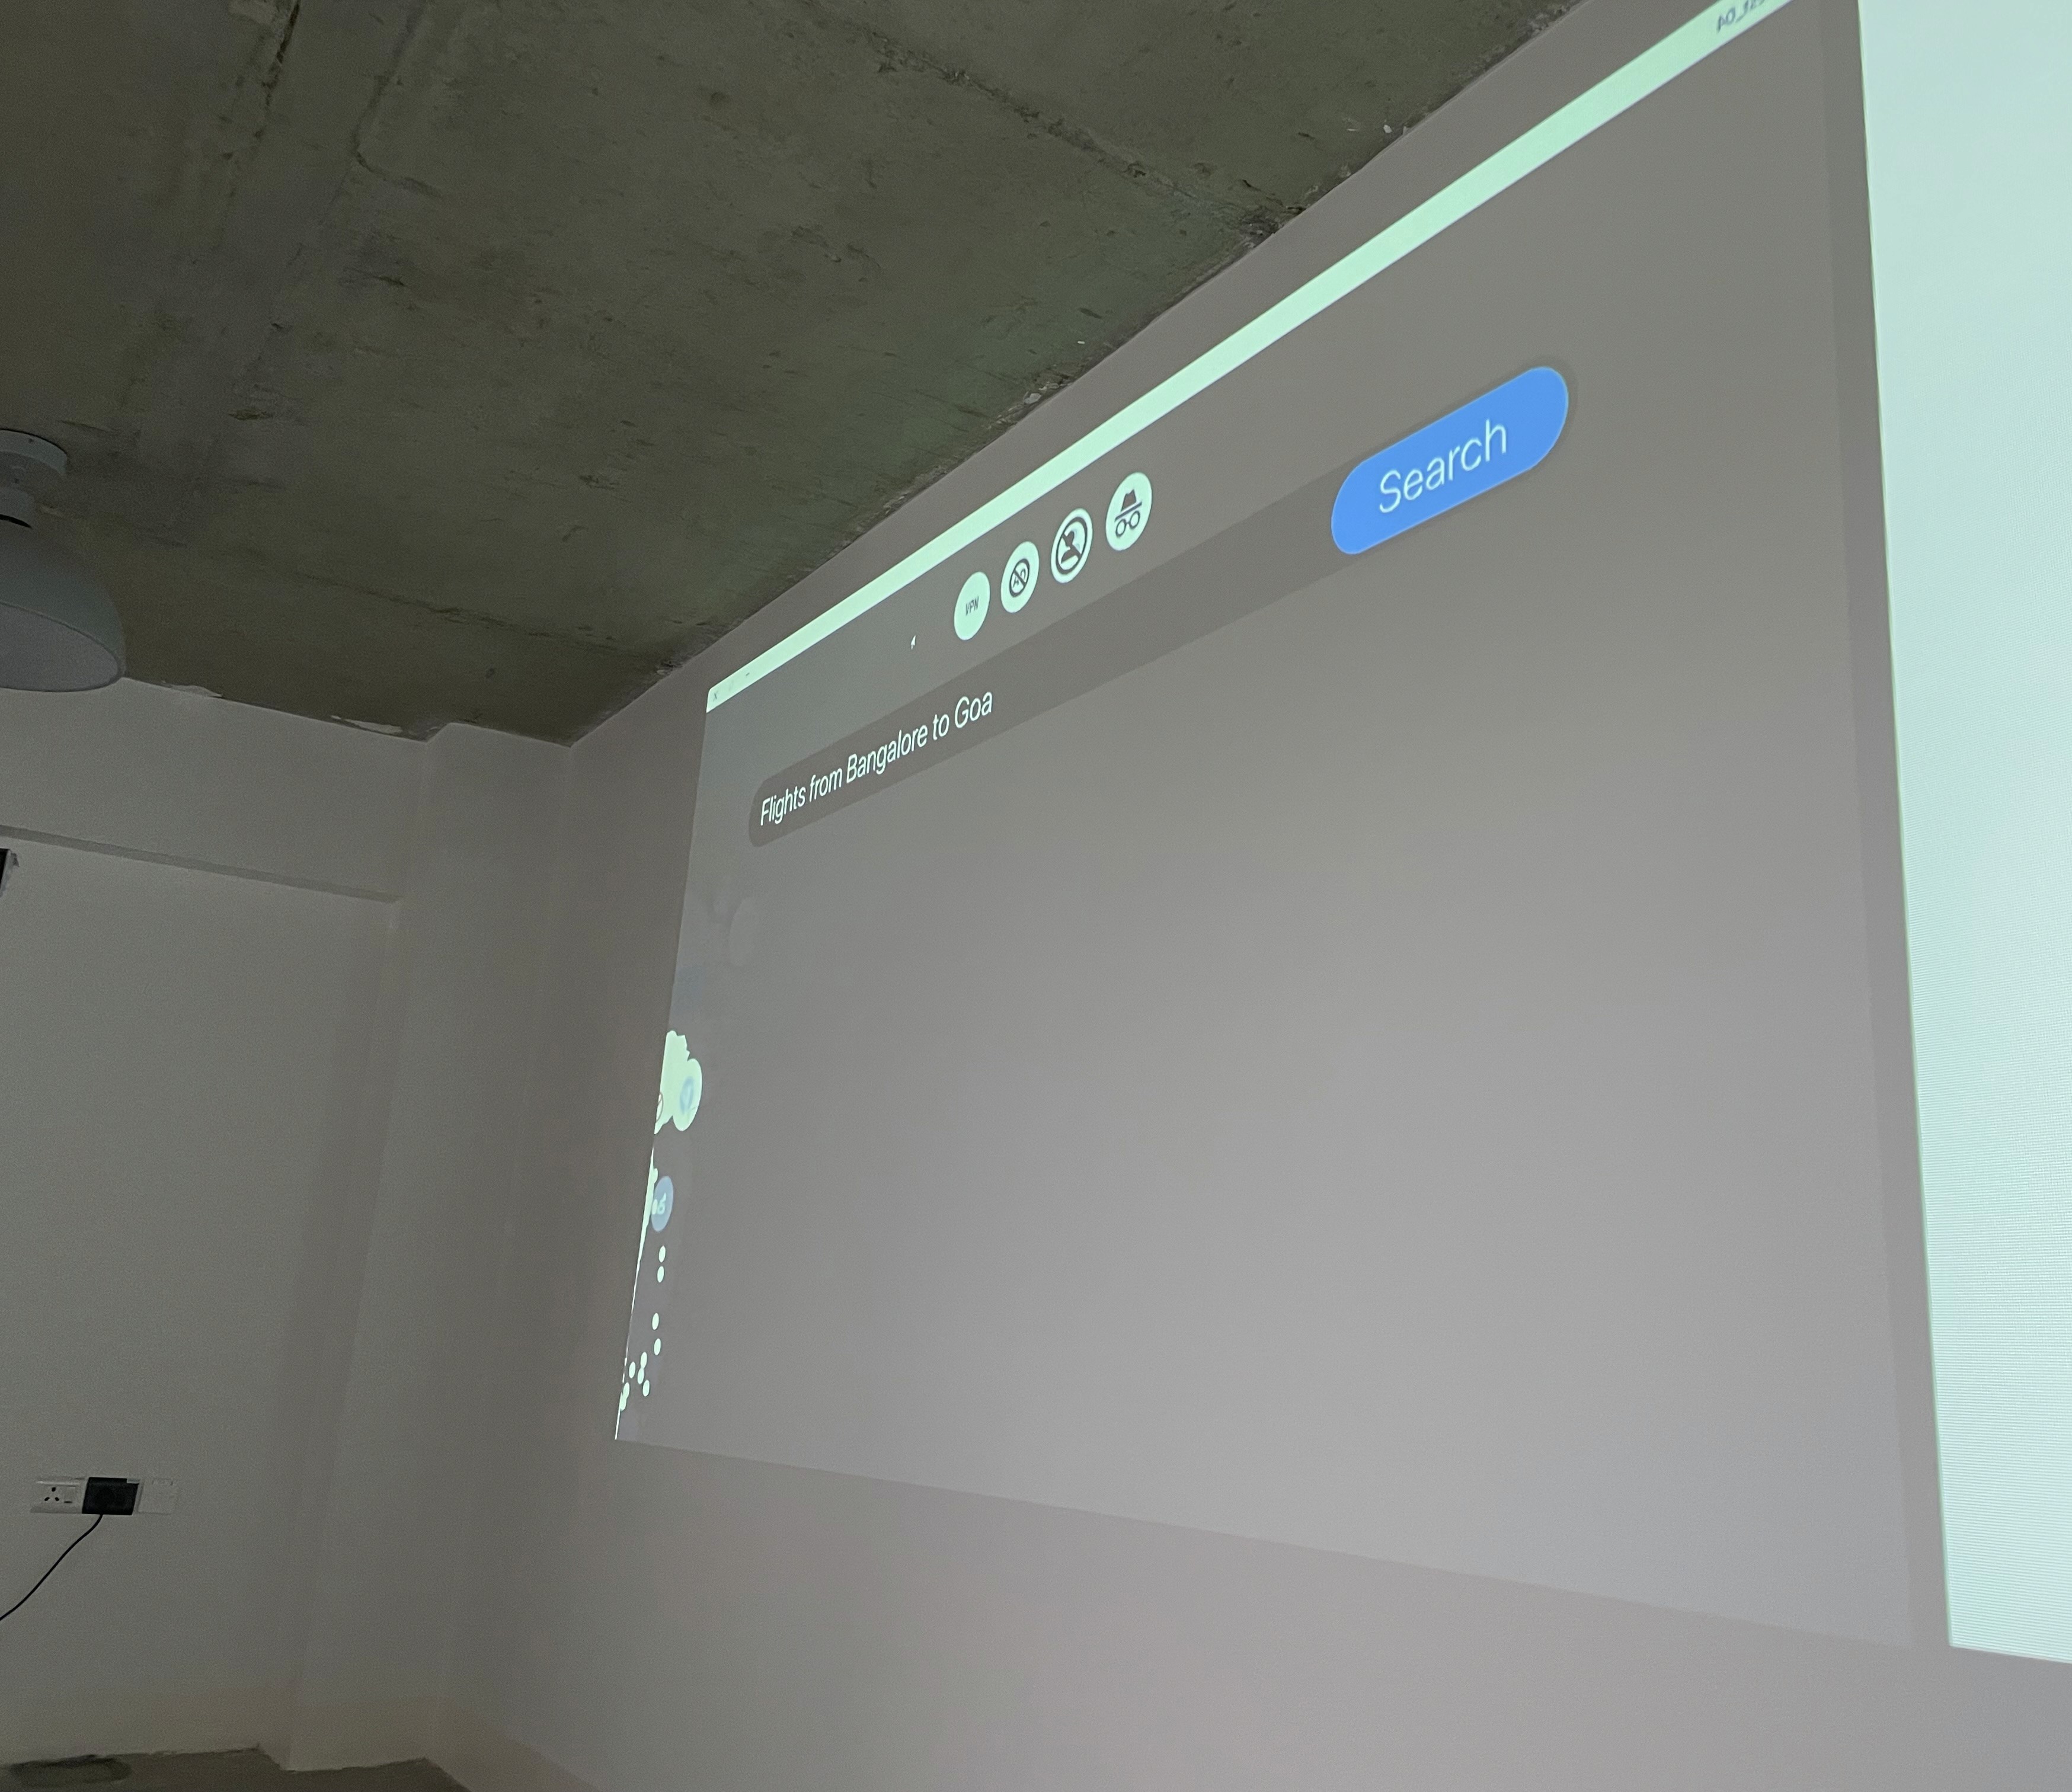
Bad Browser
Overview
The project aims to intervene in the recommendation system algorithm that is used to personalize user experiences on the internet.
The interactive installation was created with the aim of communicating to users in a captivating manner the magnitude of data being collected from their devices. Showcasing the difference between safe private browsing and open browsing.
Team
Eshwar V, Harsh B, Mrinalini K
Timeline
4 Weeks
The Context
Our goal was creating an intervention to bring out the flaws of an algorithm. We chose the personalisation algorithm that is used by most of the digital services. We specifically chose to work with the concept of browsers and the data collected by browsers.
The Recommendation System algorithm can collect a vast amount of data on users' activities, preferences, and behaviour, creating a detailed profile of each user. This can help the user achieve their goal and find what they want with ease, but at the cost of their privacy. What would the user prefer? Which one is good, which one is bad? These thoughts led to the experiment we conducted.
is it really worth it?
Personalisation Vs. Privacy
The final installation
The Goal
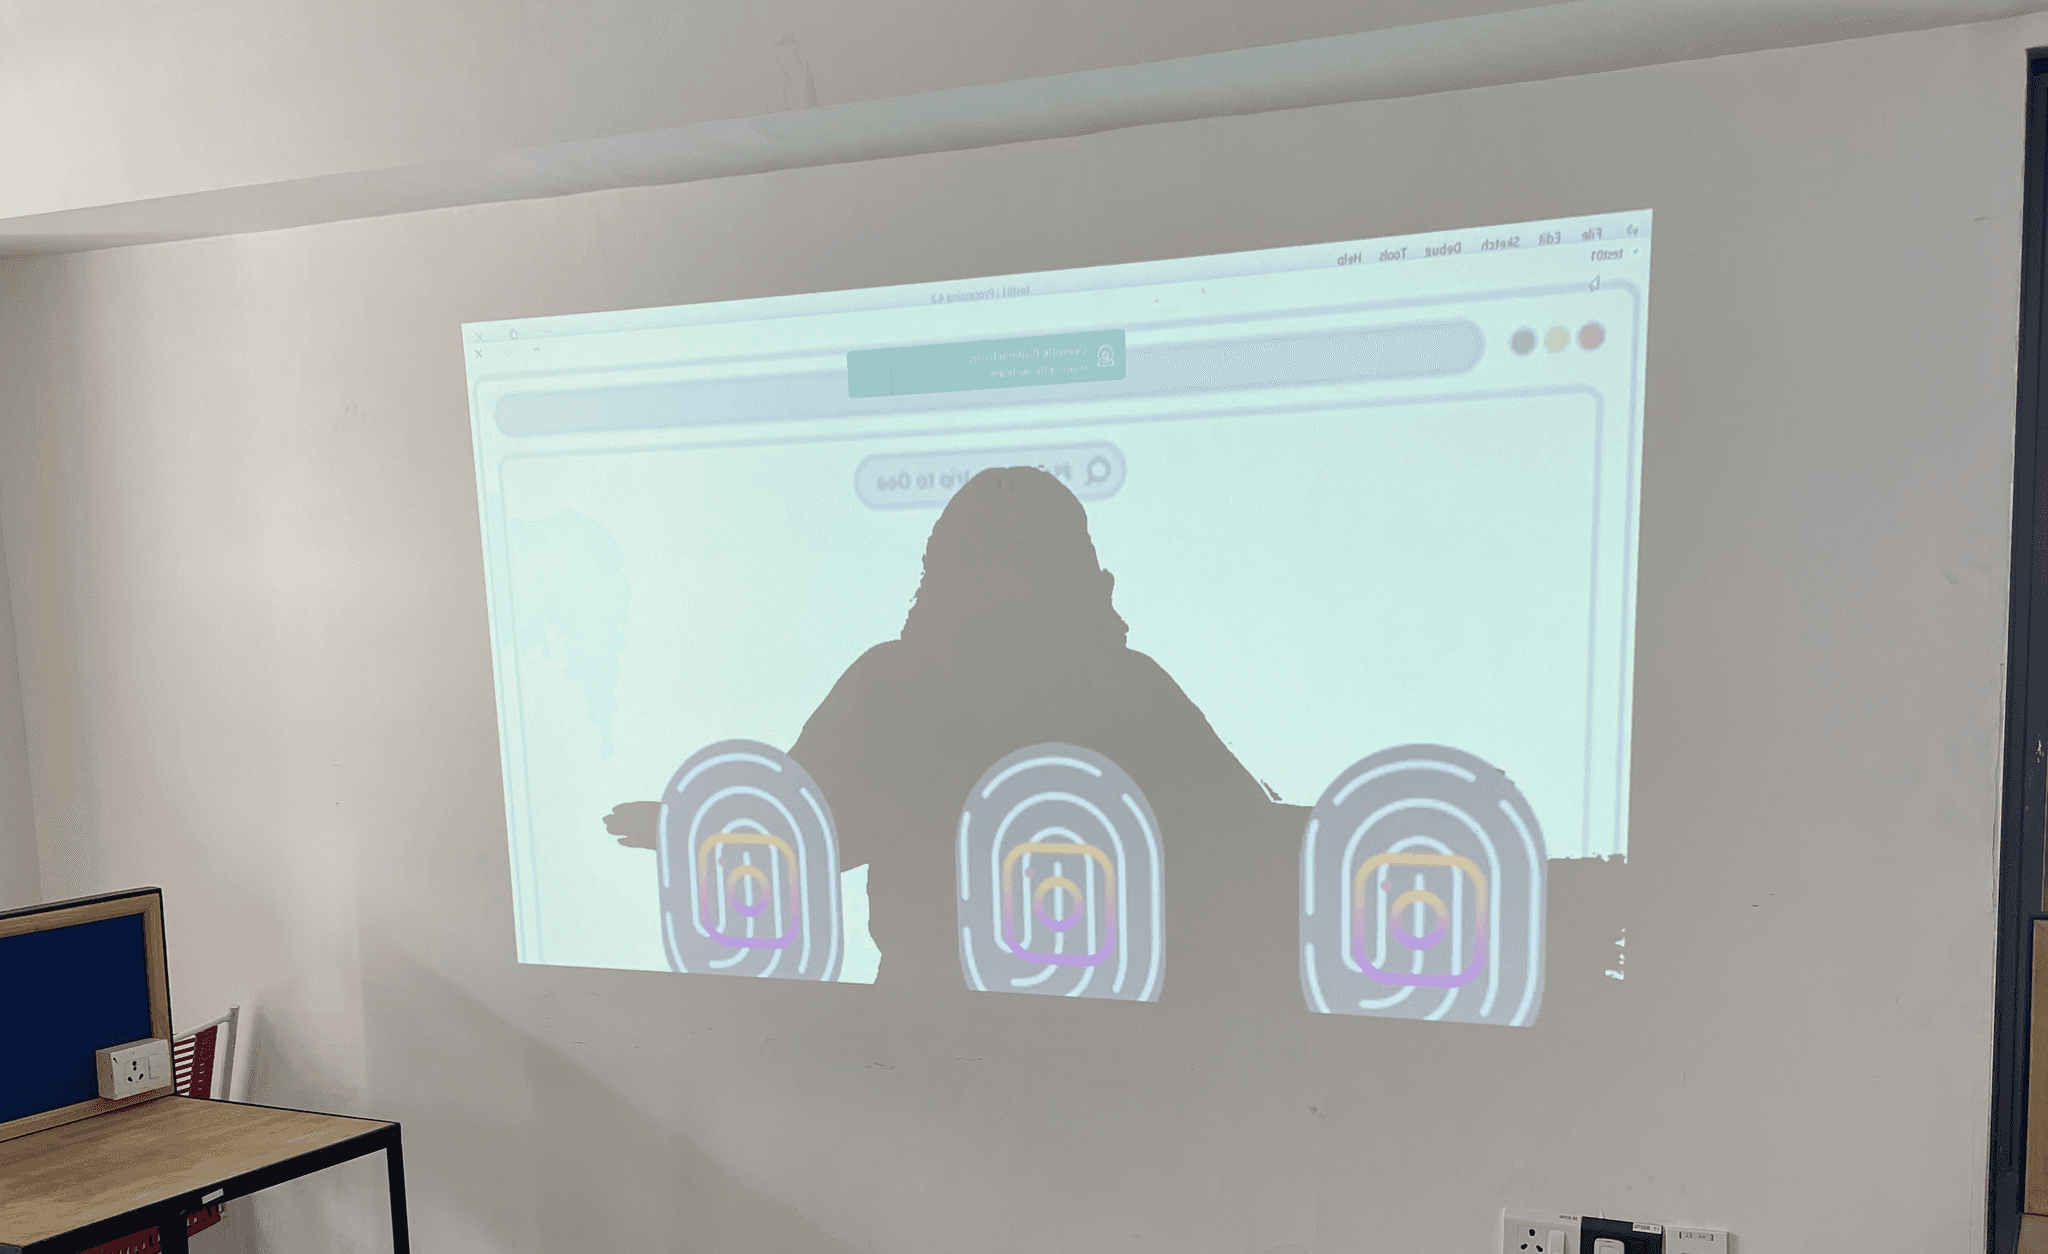
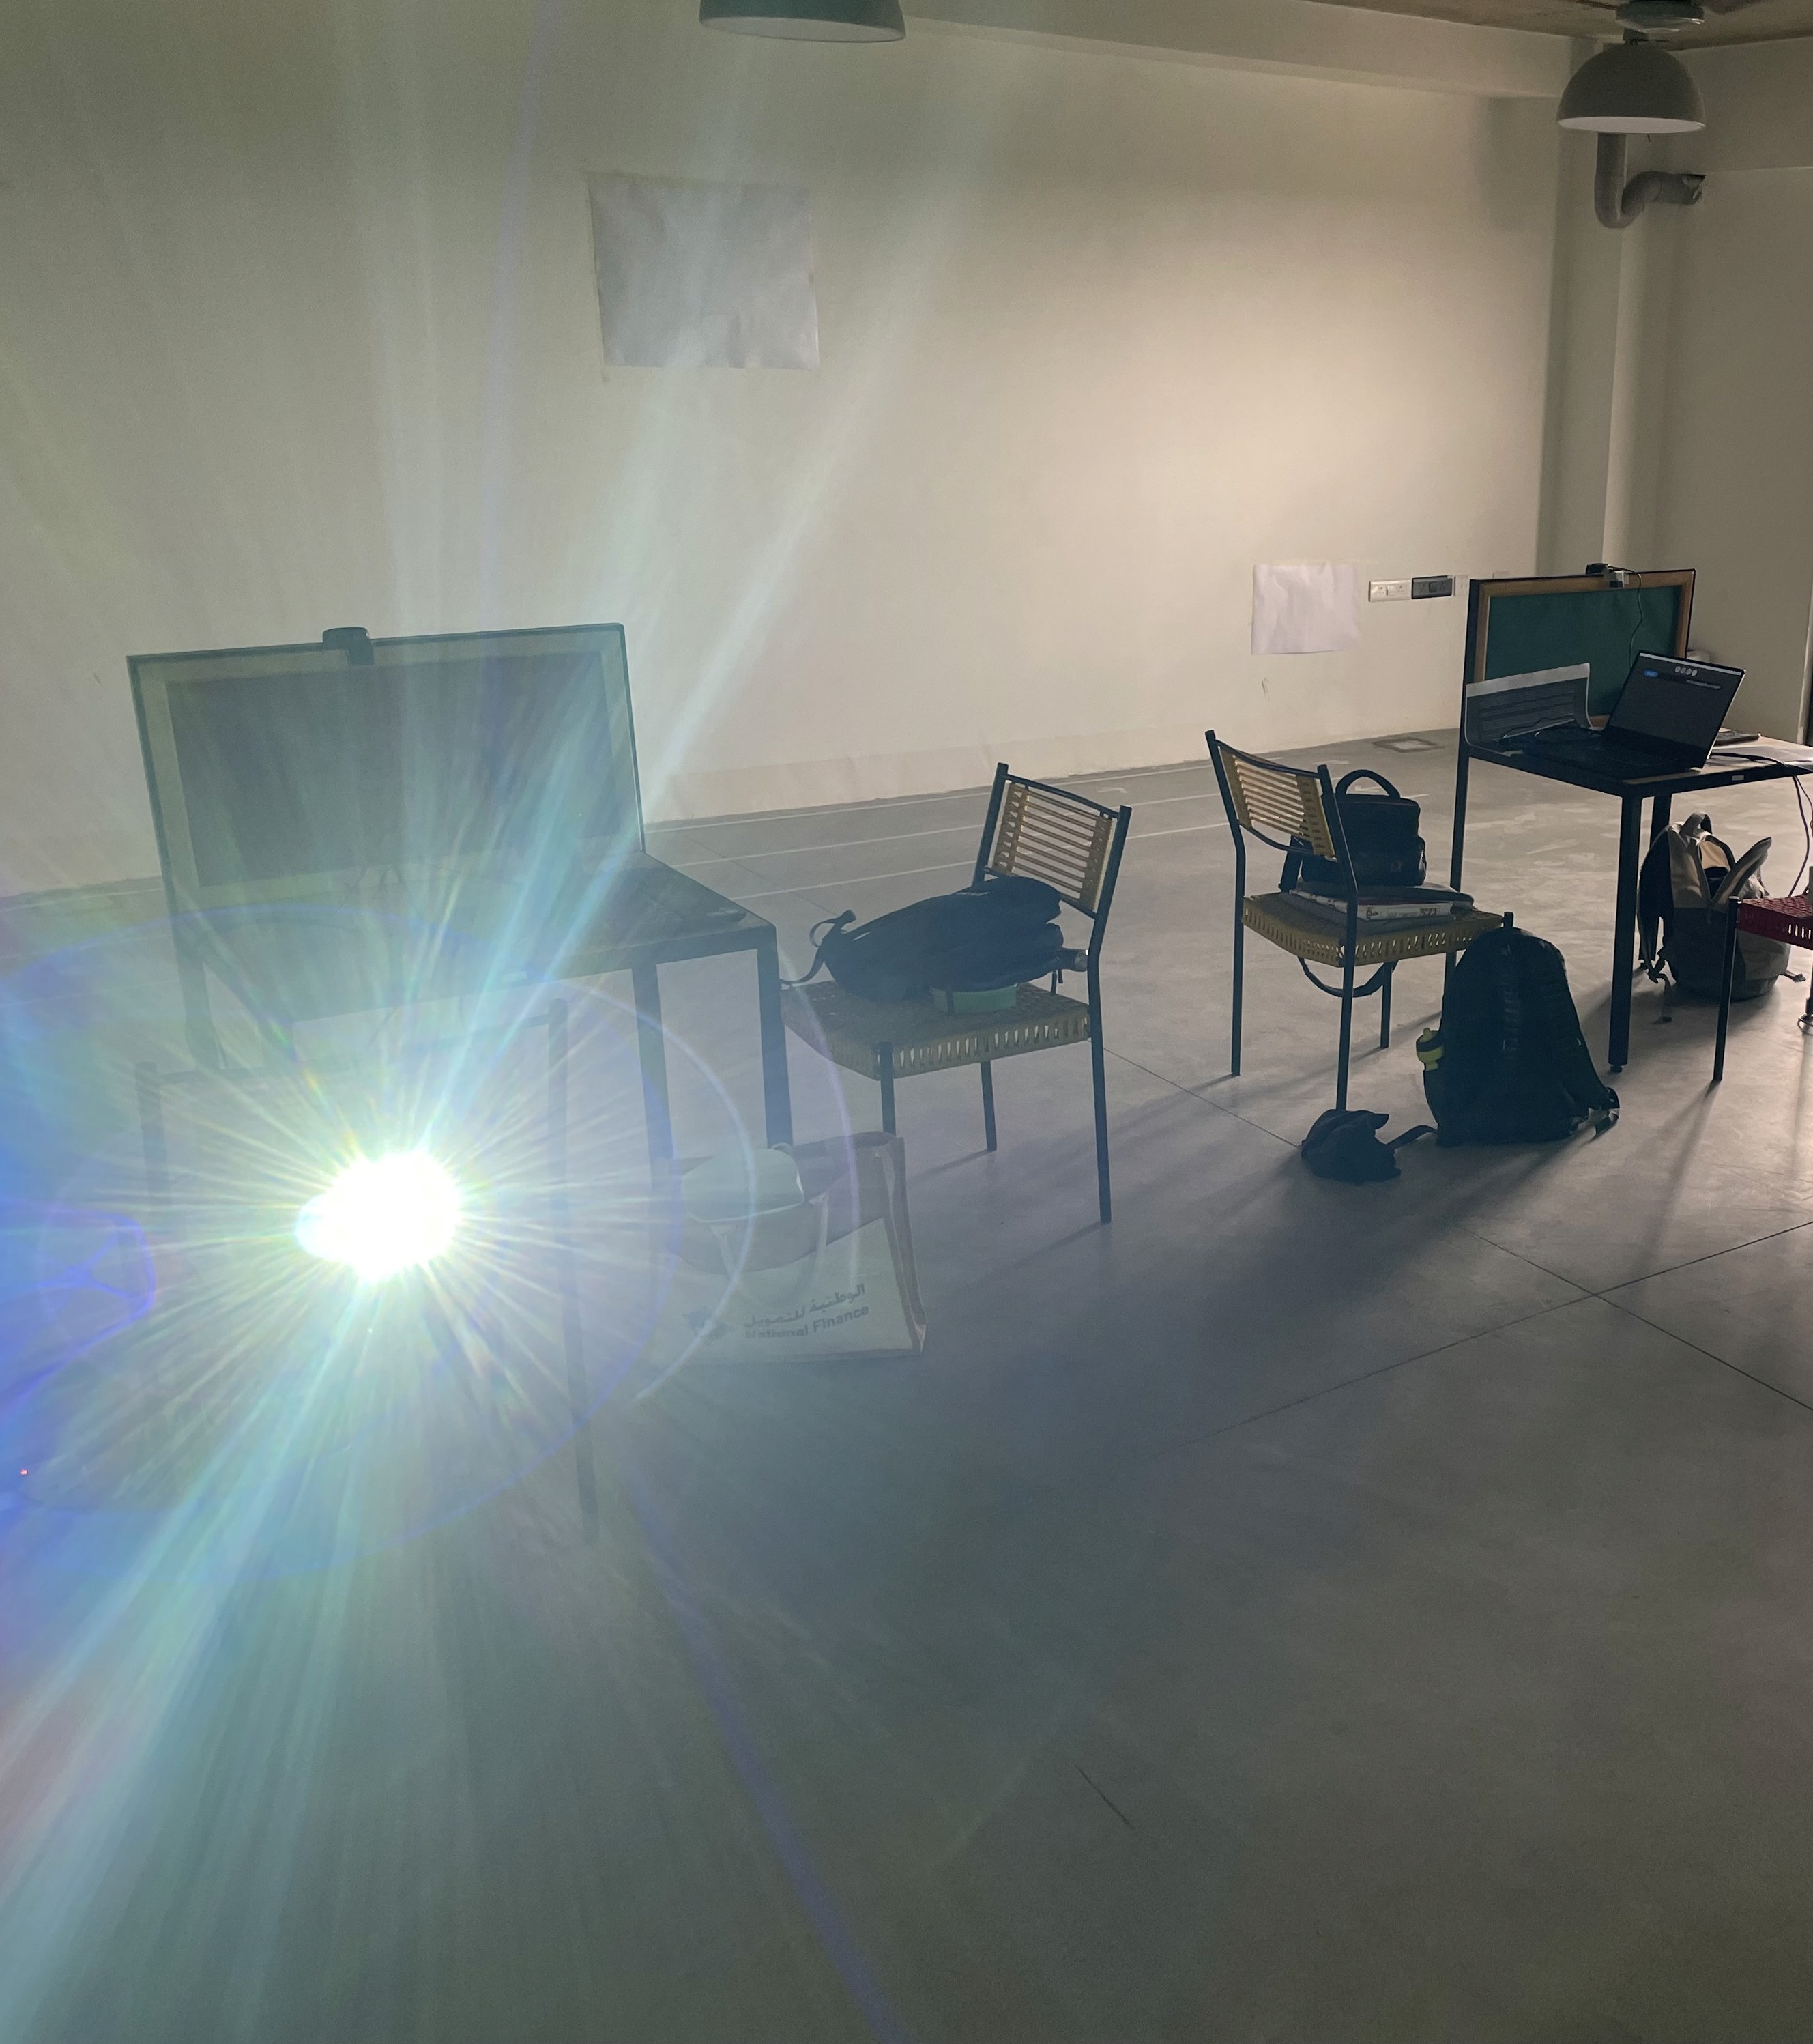
To visually represent these differences in the installation, we decided to project two browsers side by side, with the left browser representing the protected browser and the right side representing the general unprotected browser. Both browsers would be set to perform the same task of booking a flight to Goa. As users walked in front of the browsers, they could see the visual differences in the search results recommended by each browser. This visual depiction would allow users to see how their personal data is being used to tailor their online experience and raised awareness about the potential risks of online tracking and profiling. The installation won’t label any browser to be ‘good’ or ‘bad’. This is open to the interpretation of the user experiencing the installation. Would they prefer a private browser that may not help them get to where they want or an unprotected browser whose targeted results help them achieve their goals, at the cost of their personal data?
Our Process
Eventually, we figured out that Processing and OpenCV can be integrated, and even though OpenCV is complicated, we could just use Processing for the same. Throughout the development phase, we were heavily dependent on ChatGPT to help us with the codes, tools, etc. We asked GPT for potential tools for a concept like ours, and it gave us really insightful results.
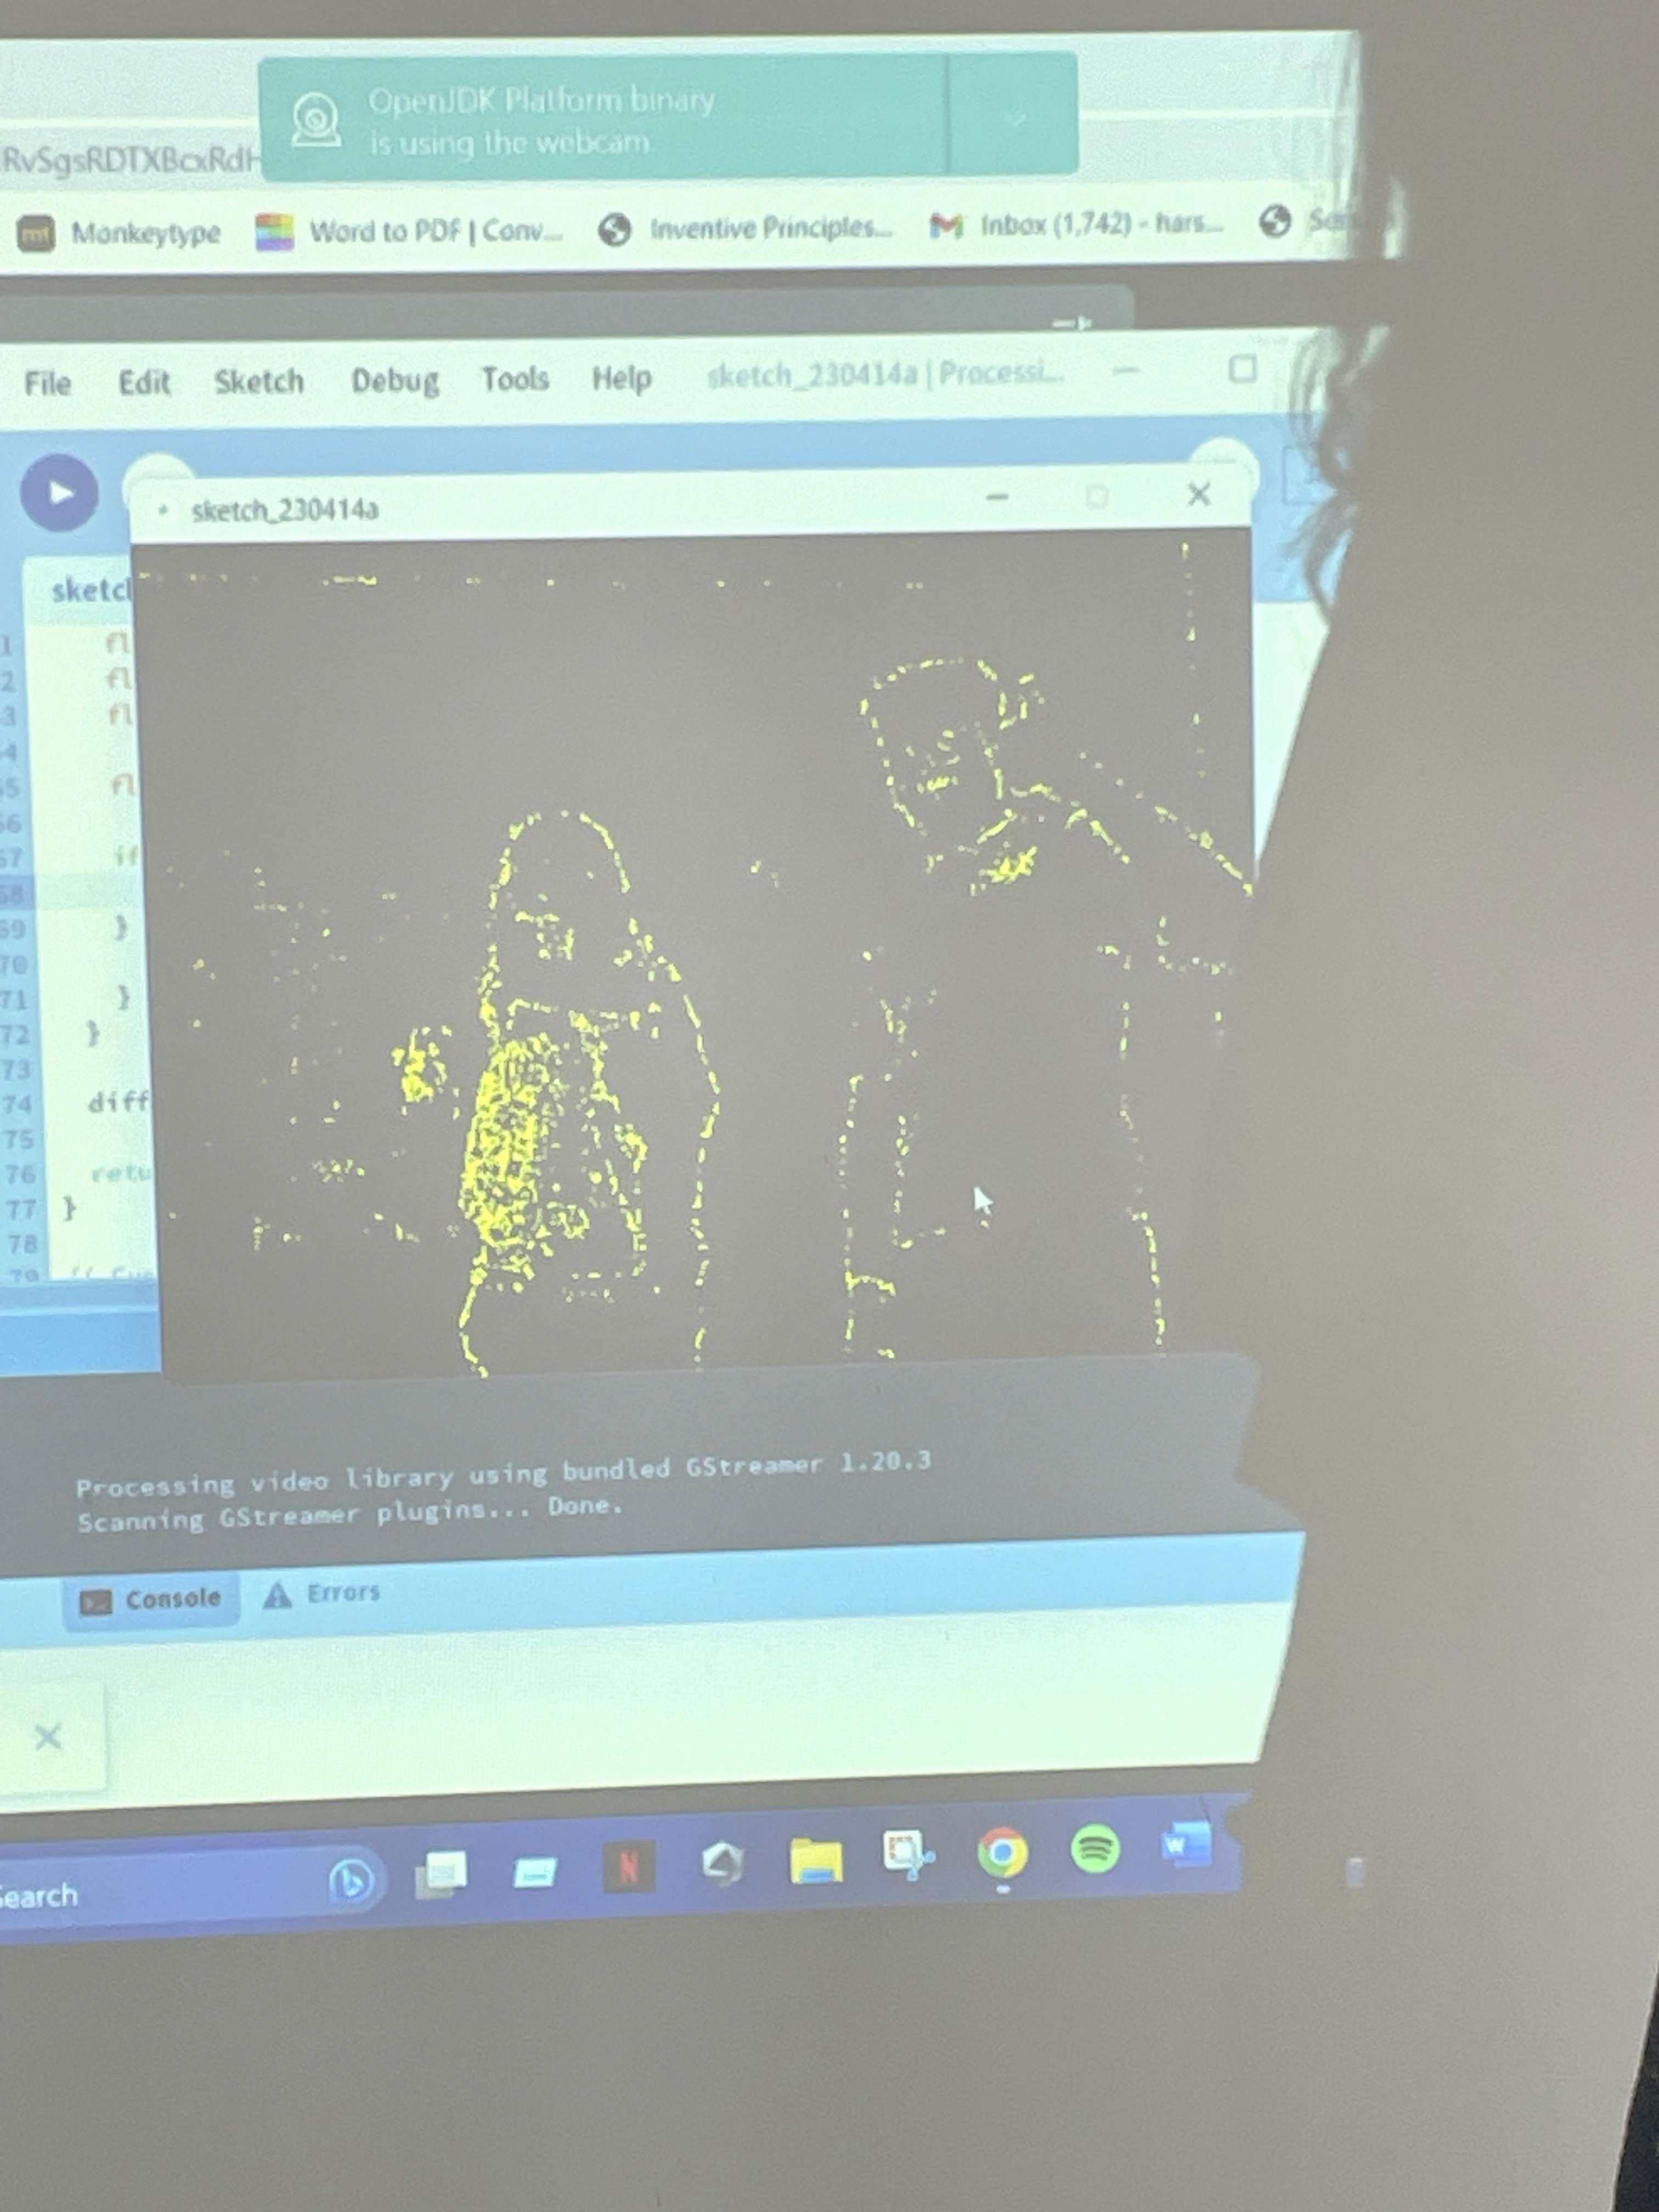
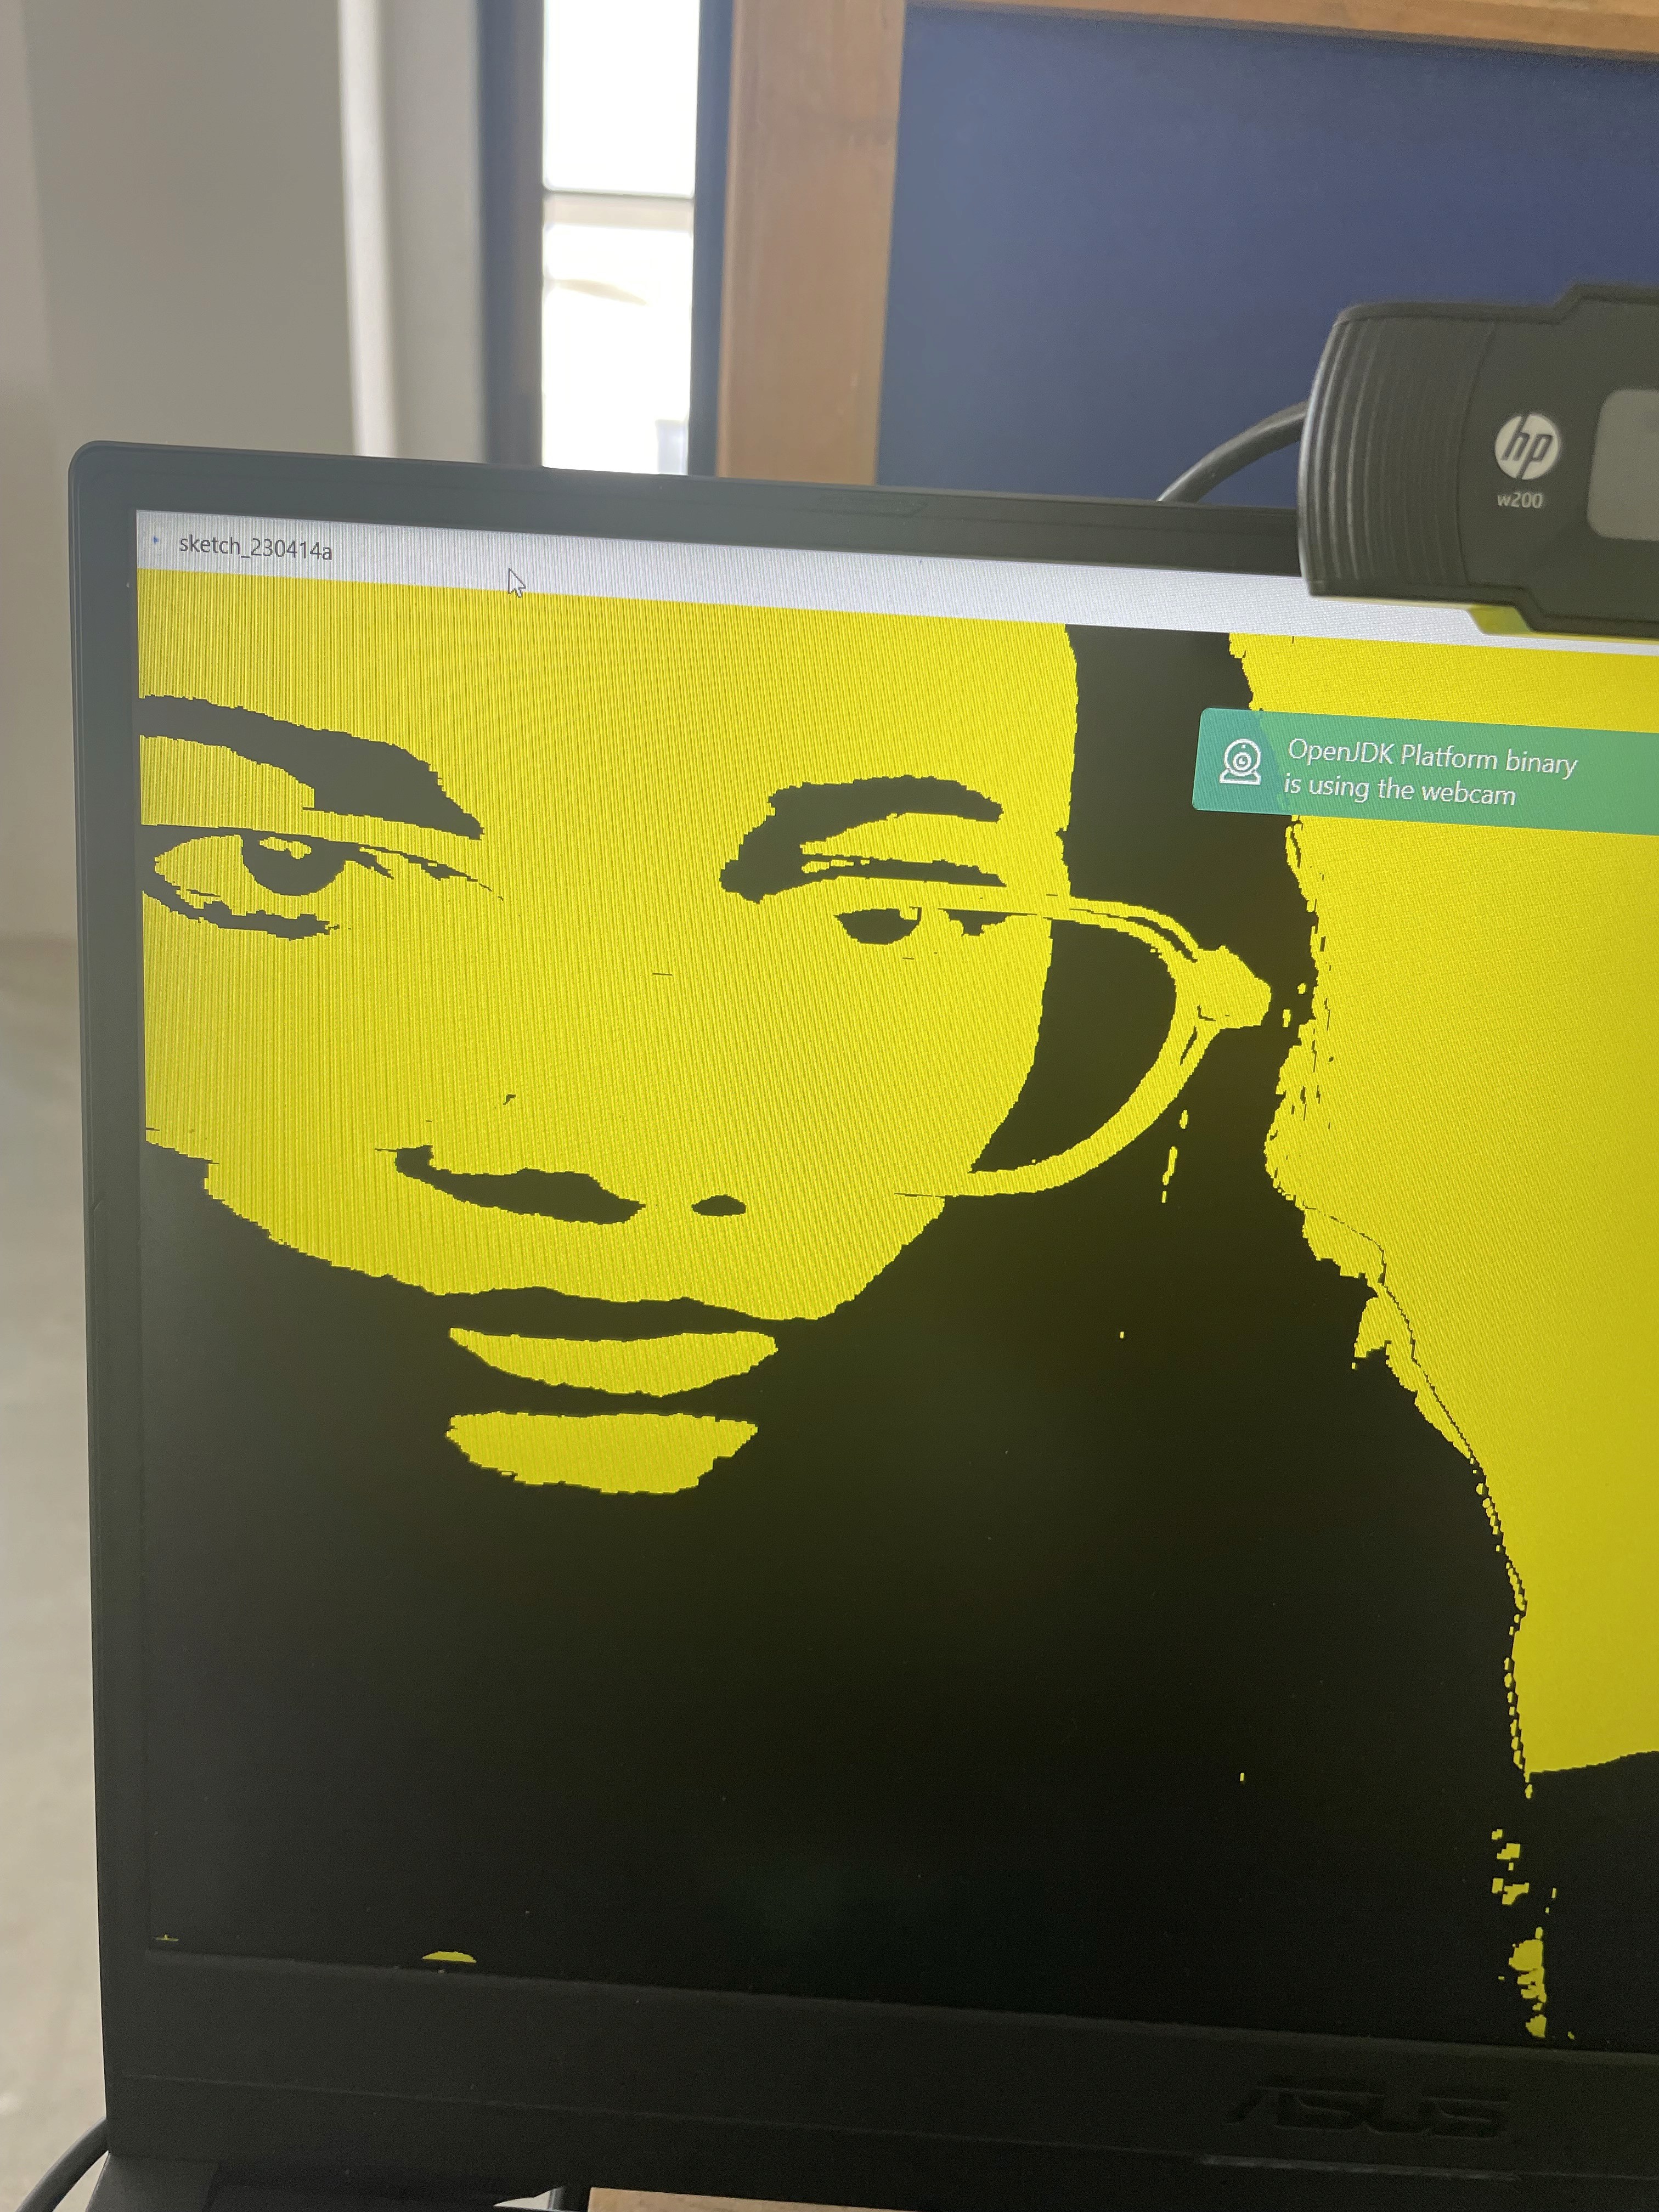
Initially, we wanted to see how object detection works on Processing. We tried two things: just using Processing to detect an object, and then using OpenCV to detect an object. Understandably, it worked better with OpenCV because the library is built for real-world object/motion detection. We were really amazed to see that our laptop cameras could actually detect us separately and draw something over us.
Adding Complexities
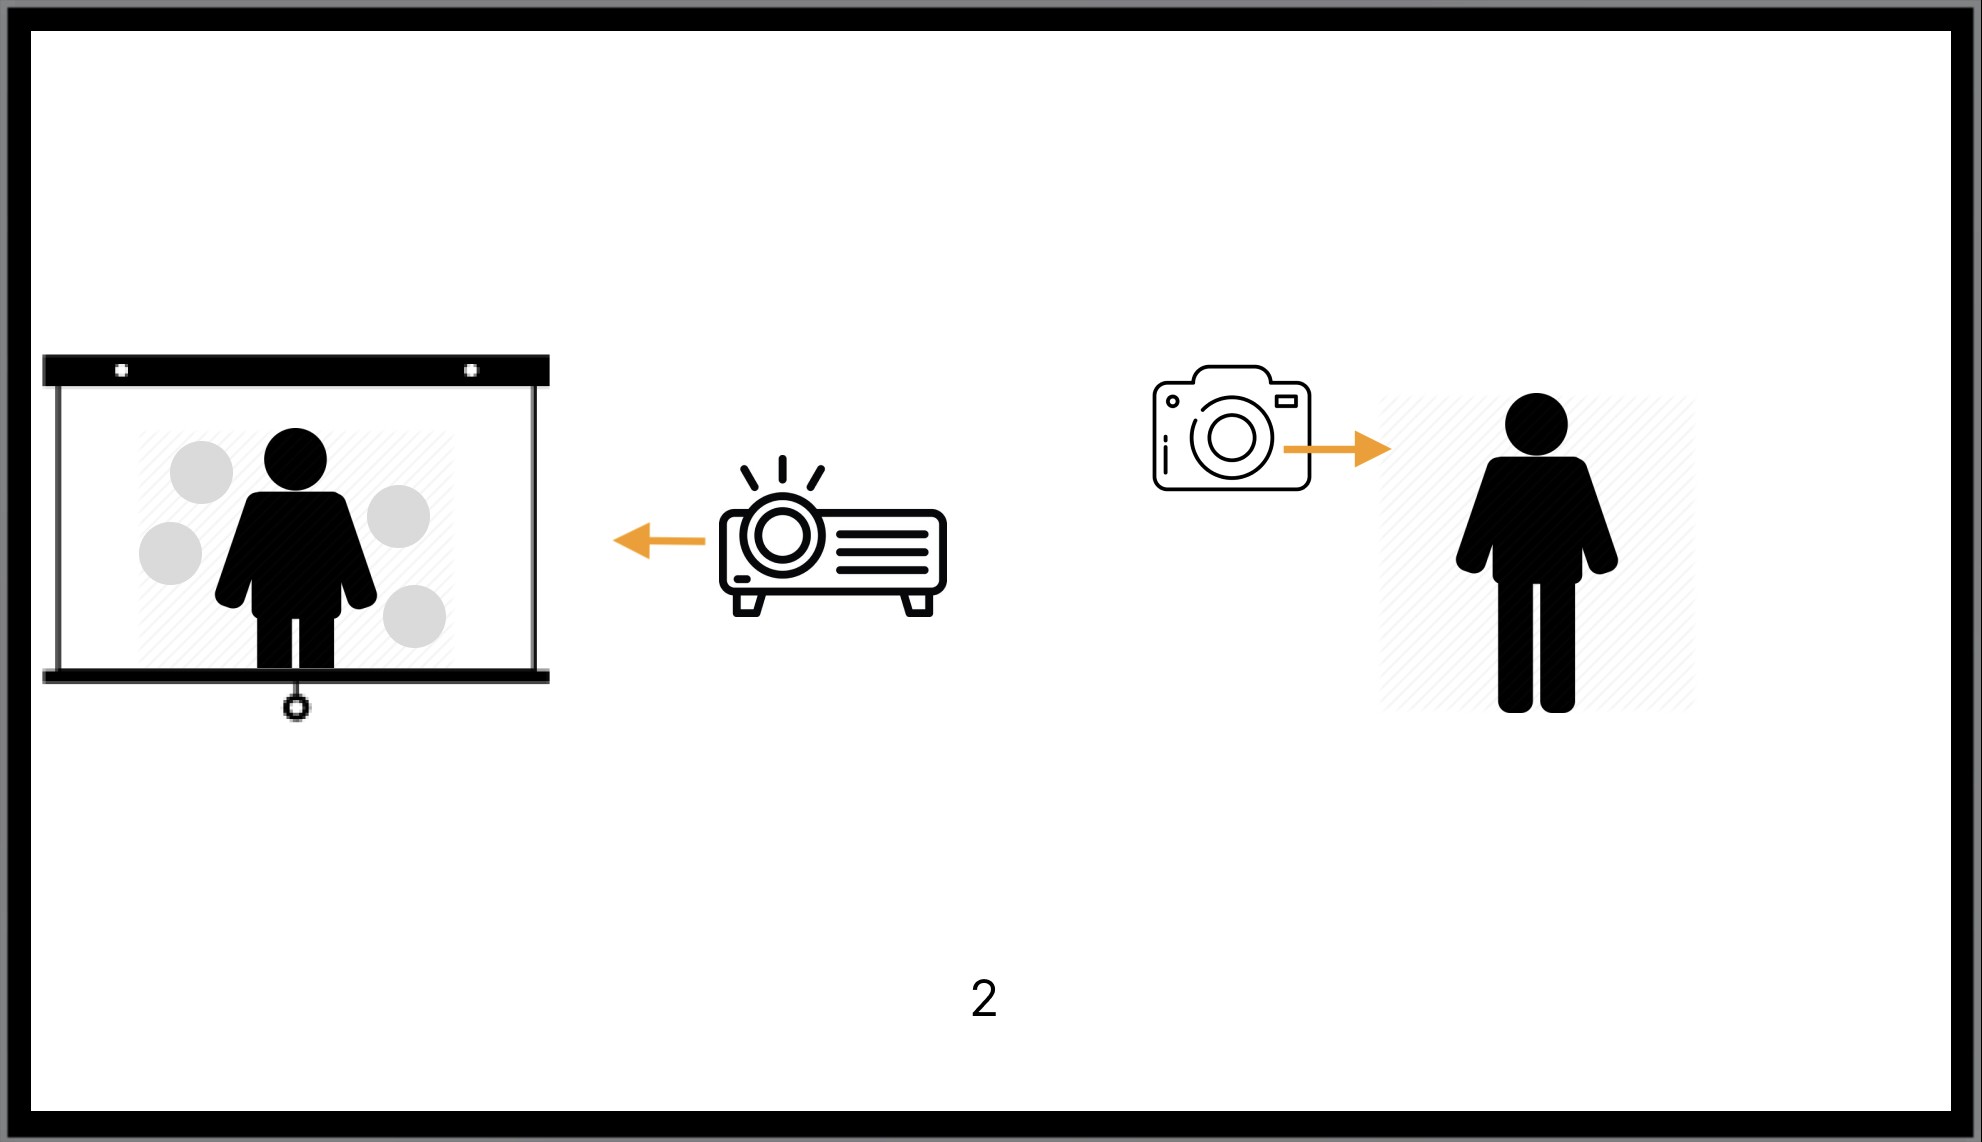
We wanted the users to walk in front of the projection and cast a shadow on the wall which would be detected and then the data points would appear around that shadow, but we soon came to realise that this wouldn’t work so we had to iterate and we had to fix this by changing the overall setup. Below are the schematics (attempt) on the orientations we explored.
We figured out that the second orientation works best and started working with that goal in mind, while all this was happening our most important objective was to also find a good place to setup our exhibit in and we were scouting for places all over the campus.
With all of this happening we wanted to check if we could actually use our own images, icons and background on the actual projection and we had to make some heavy changes to the code for this but eventually we figured it out with the help of our friendly neighbourhood chatty GPT and a few other sources on Github.
The Setup
Now it was time for us to develop the actual interface with a good browser and a bad browser. We made background images, created ads and data point icons based on our research, and classified them across the two browsers. The prototype exhibition was coming up, and we had to pull our socks and get our place, projectors, and cameras set up. Everything had to be done in just two days. We scrambled, staying up until 2 in the night fixing the final code and getting it to work. Finally, we had it—the setup and the whole thing up and running. It felt great to actually walk through this place and see our shadow being trailed by so many things. Link to video
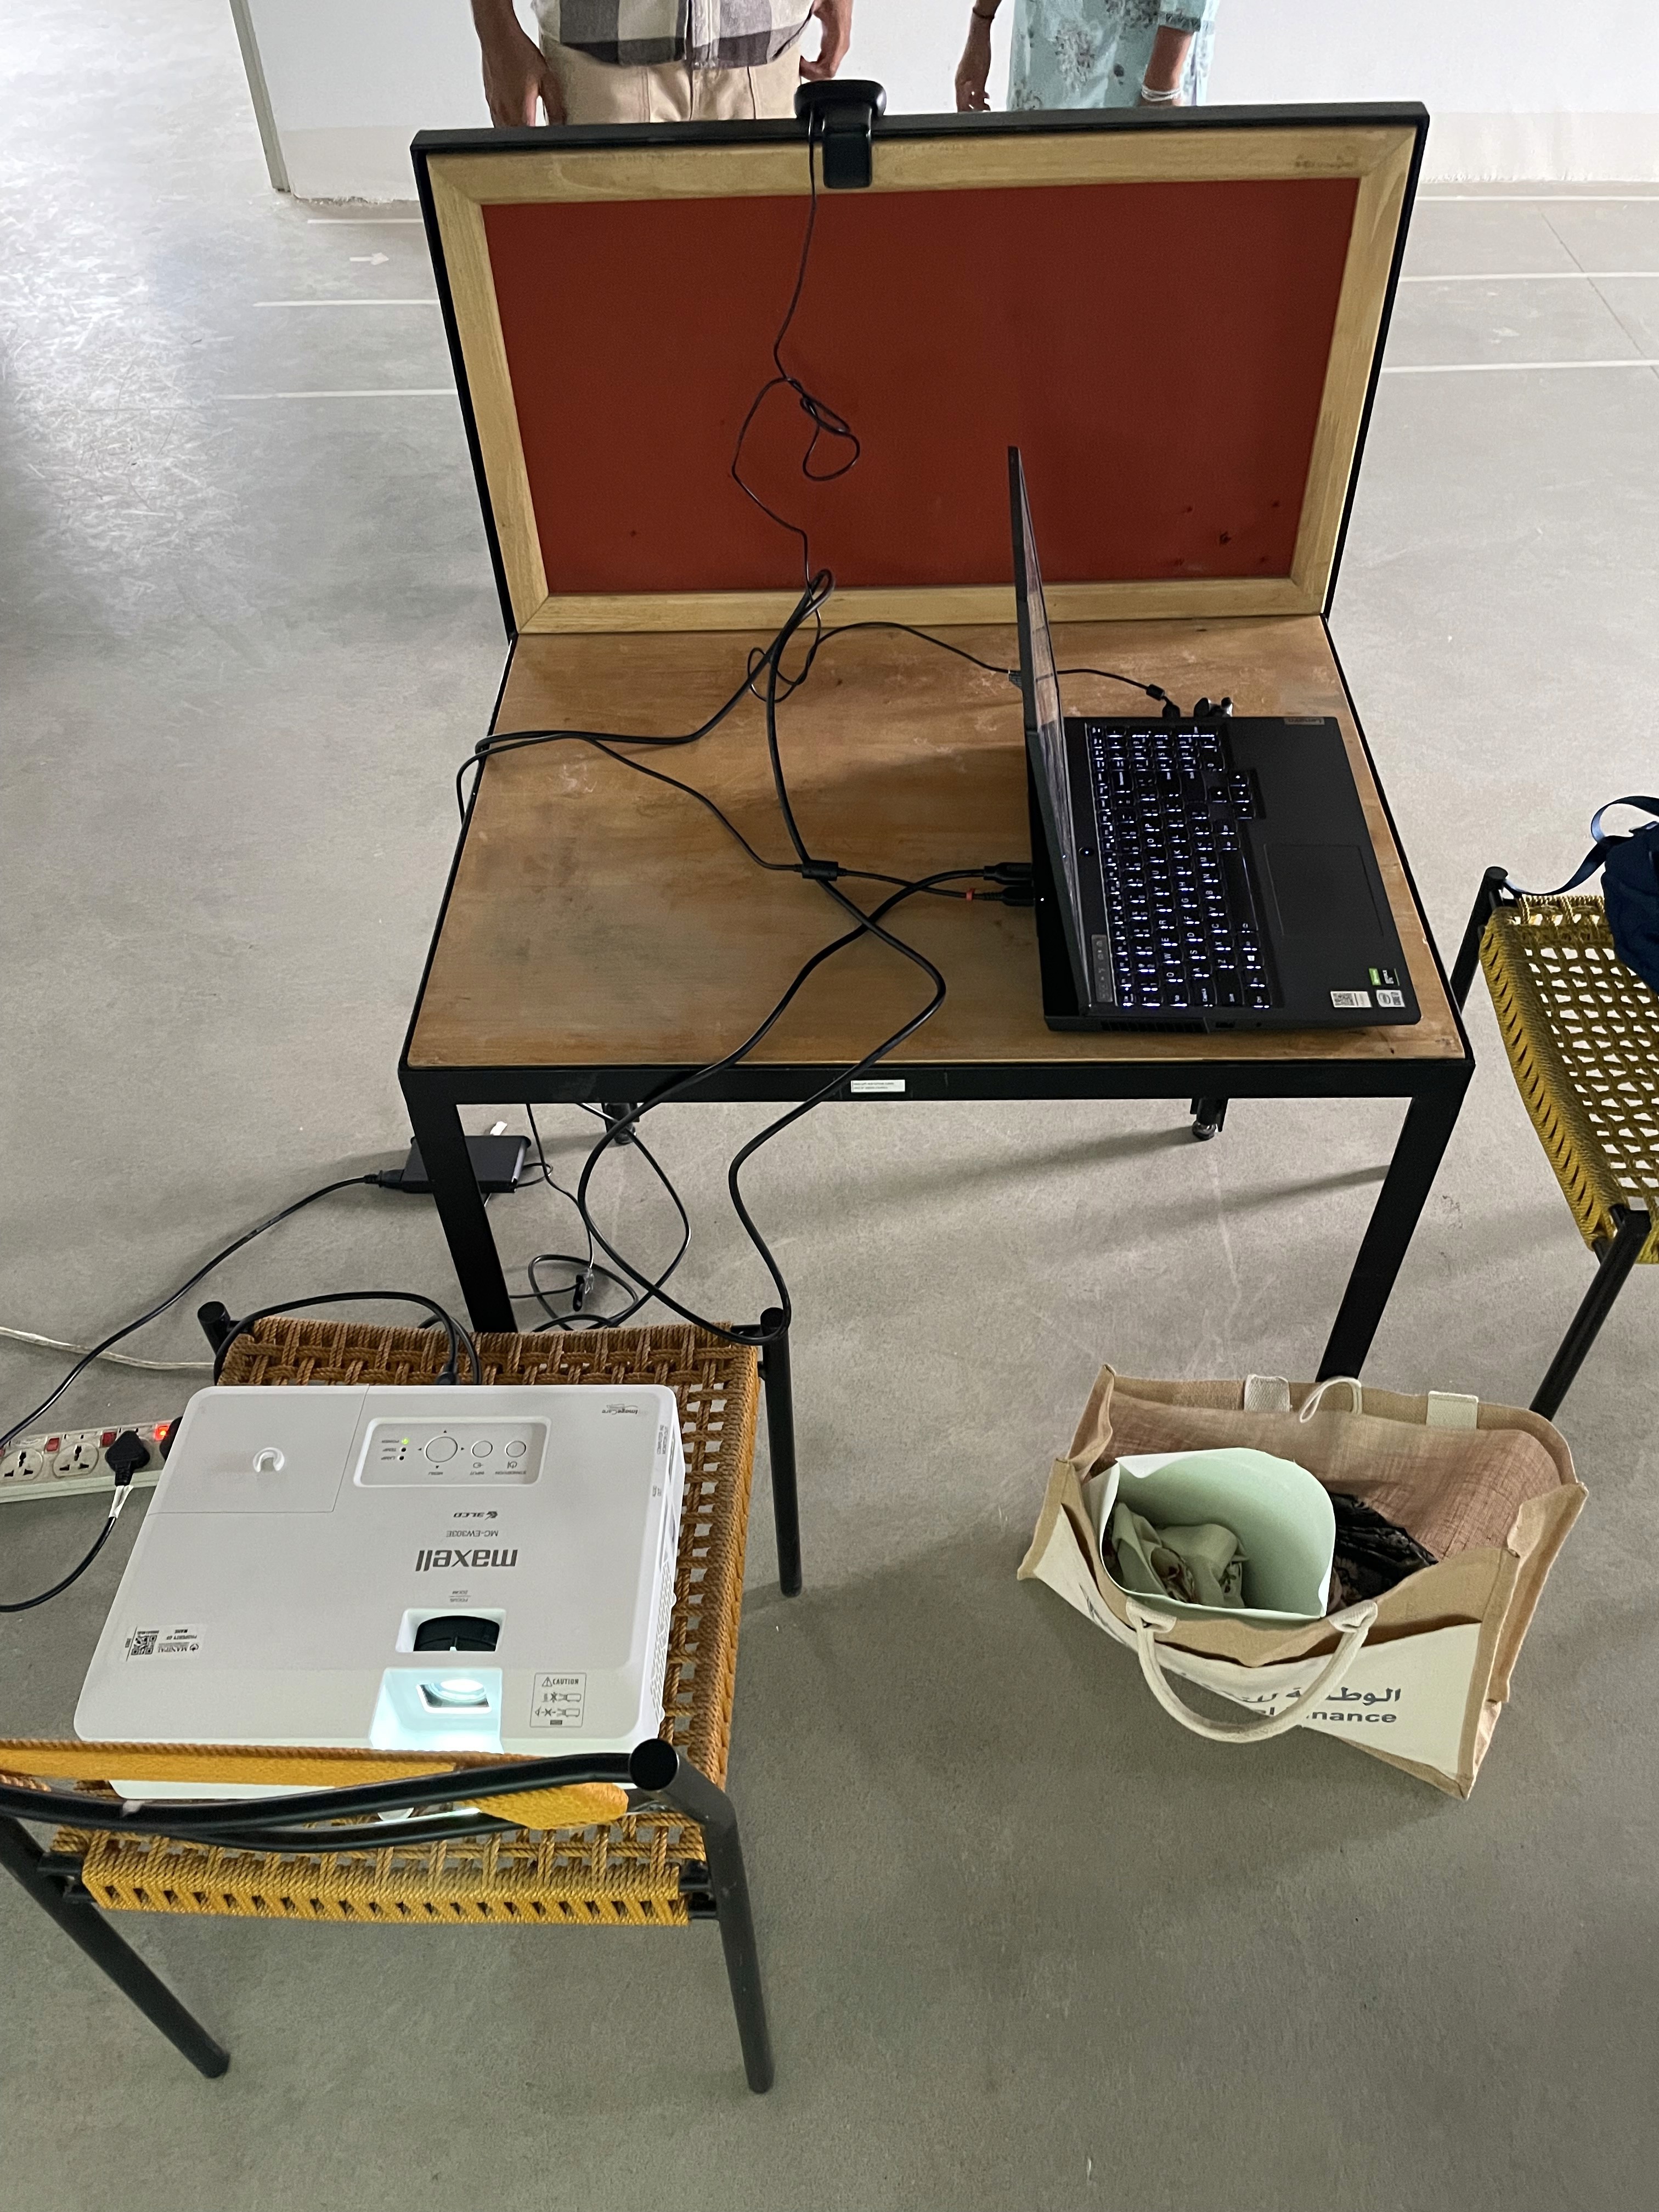
Projection and Detection Unit
Projection and Detection Unit
zeroes and ones
Our Code
Our first piece of code that was tests (Didn't work that great)
Our final code
The Final Outcome
Learnings and Reflection
Working on this was a truly rewarding experience, looking at how people felt when they entered an immersive experience made me feel really happy about the effort that went into this project. I was able to learn a lot about privacy and the power Internet hold to both make or break someone's life. This quest piqued my interest in the area of ethical technology and has pushed me to ensure that I think about the impact of technology on my users before I choose to deploy it for them.
I also had the realisation that ChatGPT can code, pretty well might I add, but if I would do anything differently about this project it would be about how much more impactful I would make this immersive experience, maybe using depth sensors instead of cameras, and maybe actually creating an even crazier alter ego of the people who step into the experience.
All in all I had fun. Until next time!


